Git is a fantastic tool, and the industry standard for source control (Sorry SVN users, but its better). Learning Git in its entirety, can be somewhat daunting, but here we’ll highlight the main things you need to get started and some tools we like, to help you learn.
1. Git Clone
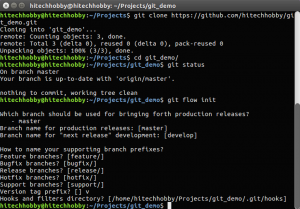
The git clone command is used to copy source code from the remote repository (“repo”) to your local device. This is the first command you will use when working with an existing Git project locally. Docs Here.
2. Git Status
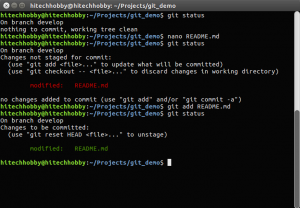
The git status command is a helpful tool for viewing the status of your local copy of the source. It will tell you which branch you are using and any changes to the code. Docs Here.
3. Git Checkout
The git checkout command is used to switch between different branches in the repository. Common branches include master and develop, but may also include features branches as we’ll see later. Example: git checkout master will check out the master branch locally. Docs Here.
4. Git Pull
The git pull command will update your local copy of the source, from the remote source, for the branch you currently have checked out. Docs Here.
5. Git Stash
The git stash command will revert and store any changes you have made to your local code (but have not committed); allowing you to restore them later with git stash pop. This command is useful if you run into issues when pulling your code. Docs Here.
6. Git Add/Remove
The git add and git rm commands are used to tag files changed locally, to be sent to the remote source, on the next commit of the branch you have checked out. Add Docs Here. Remove Docs Here.
7. Git Commit
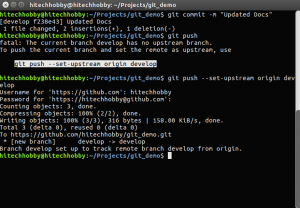
The git commit command stages changes added locally, to be sent to the remote source. A commit can contain a message about the work done in these code changes. Example: git commit -m "Added Awesome New Feature!" will group together all the local changes you have made to your project, in all the files you have added. This group of changes will be sent to the remote server on the next push. Docs Here.
8. Git Push
The git push command completes the process of sending your changes to the server. You will now be able to see these changes in the web interface, and others will be able to pull your changes. Docs Here.
Extra Credit: git-flow
Git-flow is a powerful tool that can help you organize new branches and follow a hierarchical work-flow for your code. Git-flow creates the branches master, develop, and features and handle much of the branching merging process. You’ll need to follow these instructions to install git-flow https://github.com/nvie/gitflow/wiki/Installation
9. Git-flow Init
The git-flow init command will initialize your local project with the appropriate branches and settings. Its fine to just use the defaults provided by the command. When finished, you can checkout and push each of the created branches to send them to the remote repo. Docs Here.
10. Git-flow Feature
The git-flow feature command sets up a new branch for you, inherited from the develop branch and organized with the feature/ prefix. Example: git-flow feature start awesome_new_feature will create a new local branch called feature/awesome_new_feature that when finished, can be merged back into develop with git-flow feature finish awesome_new_feature. Docs Here.
Now Lets look at the whole process:
- Clone and Initialize
2. Change and Commit
3. Push
As we said before, git is very powerful and this is just the tip of the iceberg. Please follow the included links about each feature if you need more detail on how they are used.


